
After some headache I am back with the story of a successful FreeBSD installation. Today we will examine a lesser known operating system that use the BSD kernel.
The BSD topic that we will talk about today, which many of us do not know, is actually older than GNU/Linux. The Berkeley Software Distribution (BSD) kernel was developed in 1978, directly inheriting UNIX. The Linux kernel was created by Linus Torvalds in 1991, 13 years later.
Considering the advantages it provides in terms of low power consumption, security, and port management, it is possible to say that BSD systems are a true price-performance monster. To better understand the subject, let’s examine the differences between Linux and BSD kernels:
- Differences between GPL and BSD licenses: The BSD kernel can be used in closed source projects under the BSD license, while the Linux kernel can only be used in open source projects under the GPL license.
- Community support: While the Linux kernel has a large community support behind it, BSD has a sufficient community support of its own.
- System – kernel integration: In BSD there is a direct integration between the system and the kernel, whereas in Linux the kernel is provided as a separate project.
- Projects: Products like Playstation 5, iOS, Netflix are powered by BSD. On the Linux side, there are things like Android, Google Cloud Technology, Red Hat.
After general informations, let’s start the project.
Specs Used in Virtual Machine
FreeBSD is not a very resource-intensive system, but I still installed it as follows:
- UEFI system (important)
- 4 GB ram memory
- 4 CPU cores
- QXL as a GPU
- 40 GB hard disk space
- Optional USB mouse hardware (this one required for use in the desktop environment)
- And a bit patience…
But it is not a must. You can use specs lower than these ones for your installation.
FreeBSD.iso
You can search for the .iso file suitable for your installation by clicking here.
Installation Process
Now we can start our installation. See the screen below.

You can wait for autoboot, or start with selecting first option.
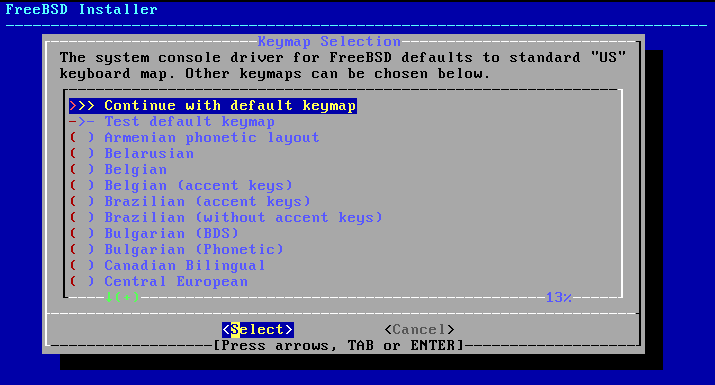
So, your installation process was started. These parts for adjusting the computer and the choices here are entirely yours.
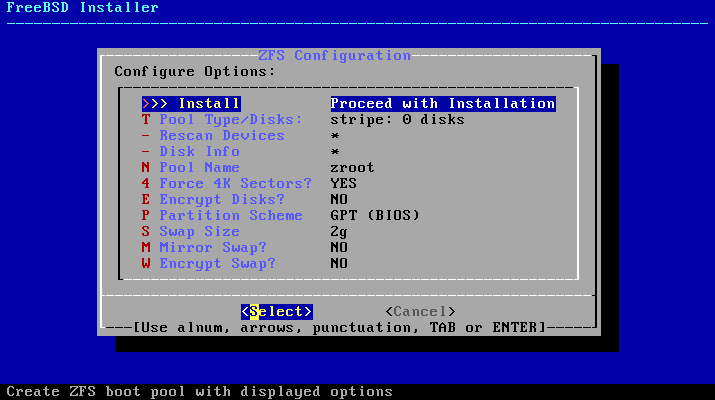
GPT for BIOS and UEFI, you can select the one that suits for your virtual machine’s specs. For this installation, I will continue with GPT (UEFI). Because we are using an UEFI VM.
After these selections, your kernel will be installed. After that you will make IPv4 – IPv6 configurations, password creations, timezone selection. So, the insallation process was finished.
System Configuration
Reboot your system after the installation. At first, you will see just a command prompt. It is pure system of FreeBSD. We will create our desktop from zero.
Now, let’s login as a root user.
- Login: root
- Password: the password you used during the installation

Here, we need to install some things. As a root user, we can freely install them with pkg (package installer of FreeBSD). Use that code:
pkg install sudo nano
Sudo for super user processes, nano for text file managing. But for your first pkg usage, it will install also pkg. You can continue by typing y in the console. After that, add your user into wheel group.
pw groupmod wheel -m <your_username>
Add wheel group into sudo. For this, open visudo with nano editor. Type that code into the console:
EDITOR=nano visudo
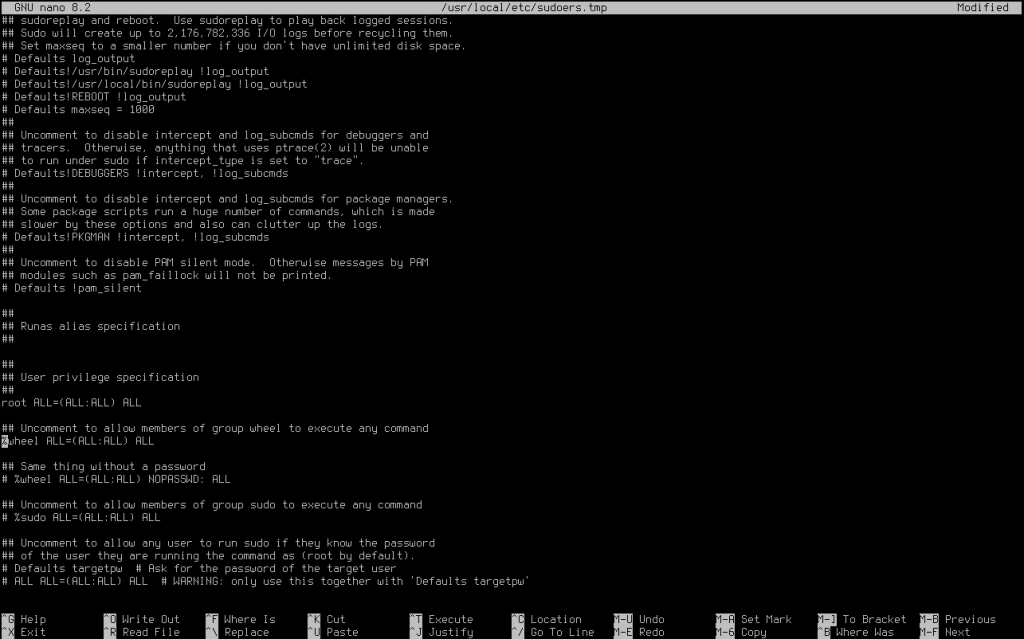
After, find this ‘# %wheel ALL=(ALL:ALL) ALL’ line in visudo, and uncomment it by removing # sign. For saving these changes, use CTRL + X shortcut, push ‘y’, and push ‘ENTER’ keys. Continue.
So, your user was added in sudo right now. Type ‘exit’ in the console, and log in with your real user.

So, we can do super user things. Our next aim is creating a graphical interface. For this, let’s install Xorg (communication APIs for the hardware).
sudo pkg install xorg
After that type your password. It will install requirements, dependencies, and Xorg.
For this installation I will continue with GNOME, but you can select various desktop environments like KDE, XFCE, Cinnamon, MATE, etc. But remember that, each of them has different steps. For GNOME, you can follow my guide.
When Xorg setup finishes, add your user into video user group.
sudo pw groupmod video -m <your_username>
This code is enough for giving a video permission to your user. Here, you have a graphics communication system in your virtual machine. Let’s install GNOME right now.
sudo pkg install gnome
Install all of the packages in the list. Type ‘y’ into the console. It will process longer than Xorg installation, so, wait.
After finishing GNOME installation, open /etc/fstab with nano editor.
sudo nano /etc/fstab
Add these line at the end of the text file:
proc /proc procfs rw 0 0
Make sure it looks like this:

Then, activate some services and make GNOME an automatically starting program by typing the following codes into the console.
sudo sysrc dbus_enable="YES"
sudo echo "exec gnome-session" > ~/.xinitrc
You are done so far! Install the video driver, configure the Xorg config.
sudo pkg install xf86-video-scfb
sudo X -configure
sudo mv /root/xorg.conf.new /etc/X11/xorg.conf
sudo nano /etc/X11/xorg.conf
Find these line and make your driver ‘scfb’.
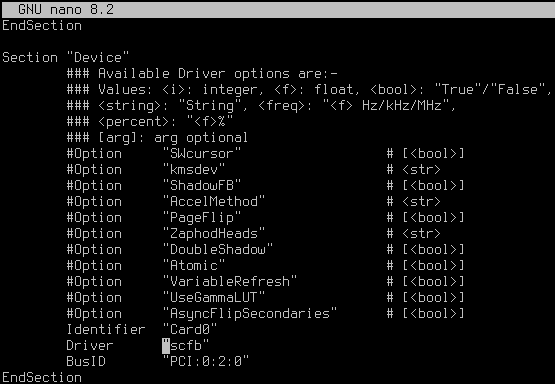
Use CTRL + X shortcut, push ‘y’, and push ‘ENTER’ keys to save it. After that, write these codes and reboot with your GNOME desktop.
sudo sysrc gdm_enable="YES"
sudo reboot
If your mouse is not working, add a USB Mouse to your hardware in the virtual machine settings.
Adjust the Resolution Values
You will probably do not have a 1920×1080 resolution in your installation. For this, I found a solution on the internet. At first, open loader.conf in your boot folder.
sudo nano /boot/loader.conf
Add these lines in this file:
kern.vt.fb.default.mode="1920x1080"
efi_max_resolution="1920x1080"
vbe_max_resolution="1920x1080"

CTRL + X, ‘y’, ‘ENTER’, and finish. Let’s reboot.
sudo reboot
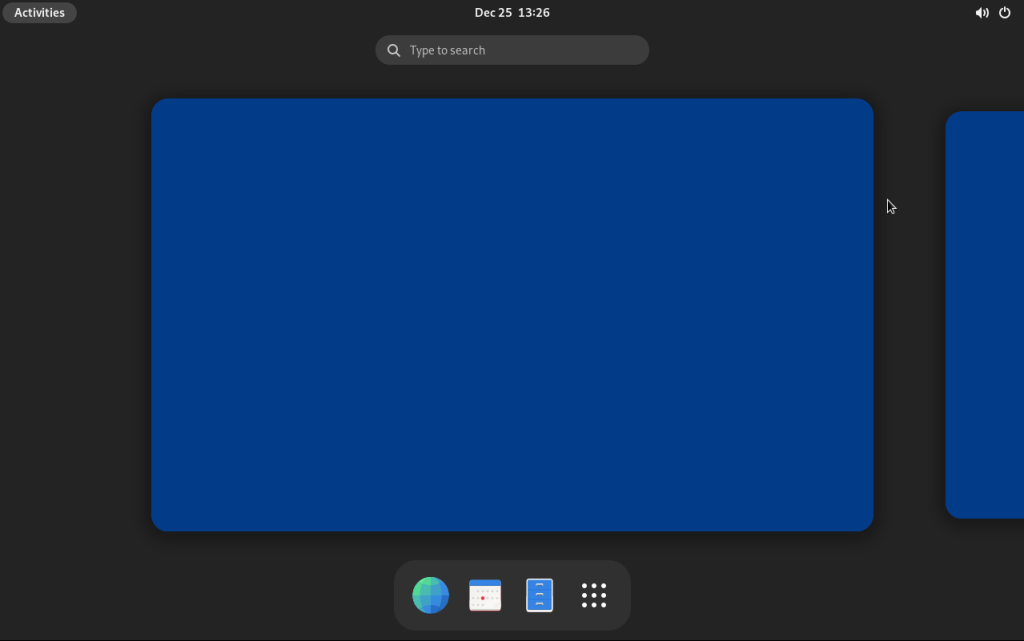
So, you will see you have successfully adjusted your resolution. You have done everything to use your FreeBSD system.
How to Use
FreeBSD is a system that you can use with things you download from the pkg package manager. It is very lightweight, and can run easily even on very low hardware. You can install the system we have just completed and learn FreeBSD by experiencing it directly.
It has various advantages and its license is very flexible. You can do almostly everything you want with this license.
For more information, let’s open the FreeBSD Handbook by clicking here.
Stay with BSD and have a nice day!
– a Debian user…

Leave a comment